

Building a fire pit during the winters is one of the best ways to enjoy a nice evening even in the midst of the cold season. While opting for the traditional wood fire pit is a great way to enjoy the warmth; for people who have a smoke allergy, asthma or any such breathing problem, sitting in front of a traditional fire pit can be dangerous. Well, instead of ruining your health, you can still enjoy the warmth of the fire pit during the winters without having too much of smoke coming out.
You have many readymade kits and building supplies online, which allow you to build your own fire pit using gas or propane. This is one of the best options you can consider when you have smoke allergies. Let us look at an easy DIY idea to build a gas or electric fire pit using a fire pit assembly kit made of stone or bricks.
Content of the kit
Depending on the type of fire pit you choose, you will get the relevant materials. However, some basic materials stay the same. For example, you may get a bowl or deep steel box that you can use for propane fire kit. The options in the content may come depending on the source you plan to use for your fire pit. For example, you have a choice between stones, fiberglass, heating coils or the traditional gas burner.
For the fire pit
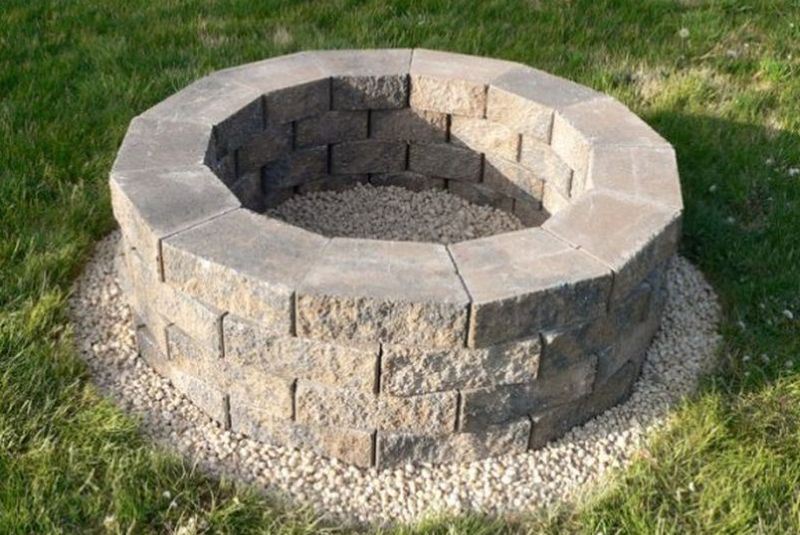
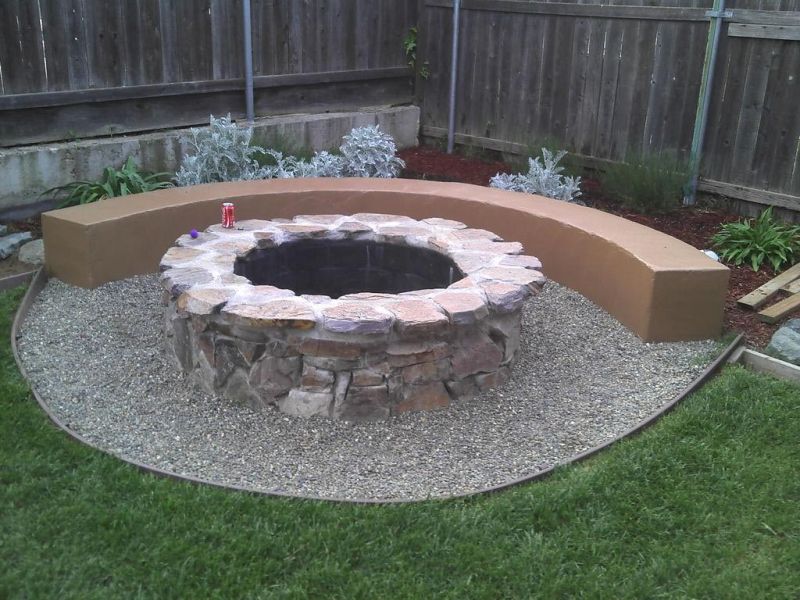
Placing the bricks or stones for the enclosure
If you are planning to use stone or bricks, the first thing that you have to decide on is the layout or placement design. You can choose to go with the traditional square, rectangle or circle shaped fire pit, or choose a different design instead.
Collar installation is the next step
Once you have built your enclosure, the next step is to install the collars. Keep in mind that you leave a 3-inch gap on the sides of the open area so that you can install the collar properly. Make the relevant markings and mount the collar with the help of masonry screws.
Installing the flange and valve

The next thing that you have to go for is the flange or valve. While doing this, drill the right sized hole for the valve through the enclosure. Install the flange on the exteriors of the enclosure and make sure it connects to the valve easily.
Connect the remaining components
The last and final step is connecting and sealing the remaining components in place. While doing this, pay close attention to the sealing process so that you can avoid any mishaps. If you are not a professional, it would be advisable to take the help of a gas plumber so that he can do the job properly for you.
Add the finishing touch and do the necessary testing
No doubt you get all the building materials the online UK within the kit itself. This is when you can place the fire glass or lava rock inside the pit. Make sure that the burner is covered properly. If you want to give your fire pit the natural touch, you can opt to go with a ceramic log set. Test the fire pit to make sure that everything is fine before you use it.
Article Submitted By Community Writer